Hello Everyone,It's been a long time since my last post, i was little bit busy with my final semester projects and i was not able to touch blender. So in the mean time i got messages from my friends who are all the members of
Free Software Foundation Of Tamilnadu (FSFTN) stating that, me and Vignesh Krishnan a good 3D Modeler & Animator (check his works
here) has to conduct a workshop on Blender and its a night workshop.That was my first workshop and i was little bit nervous to face people since its the first time(that was a sad part).
Days went,and finally the workshop date has arrived, me and vignesh reached IIT,Madras on 25th January 2016 at 9.40pm. Since IIT Madras is a big place we didn't know where the laboratory is located.In the mean time me and vignesh was chatting since its our first meet :). Then Aswin Murugesh(who organized this event) brother came and took us to the laboratory.And finally we reached the laboratory.While traveling to laboratory we saw some deer since IIT Madras is located inside a forest.
Traveling was good and we reached the laboratory and the participants were sitting inside the laboratory.It took around 15 - 20 minutes to settle down we started the session .:)We split the session into two parts first part is the introduction to the blender and the second goes into the modeling of blender.
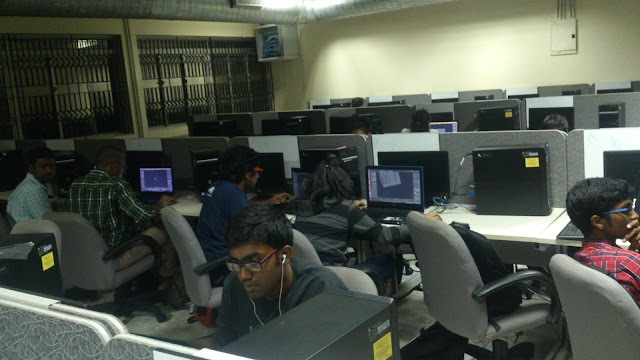 |
| Vignesh taking session(Red shirt) |
We started the session at 10.30 pm by playing the short movie Big Buck Bunny done entirely in Blender. Then Vignesh handles the session by starting with blender's history and he explained about the blender's interface, navigation, transformation in blender and some of the blender basics. So in the intro part vignesh gives a brief knowledge about interface,transformation and navigation.So in the first part of the session everyone came to know about the interface, transformation and navigation in blender.
Then comes the modeling session handled by me.Since vignesh gave a brief intro about navigation and transforamtion in blender,i started the modeling session. In the modeling session i taught them how to model a simple basic
paper-cup owl.
I started the session with how to model a simple paper cup. Since everyone is new to blender they found little hard to model the paper cup. So me, vignesh and aswin are helping the students in creating he basic cup shape.Then it took some 45mins - 1hour to model the basic cup shape.Then comes a little break.During break time we enjoyed some burgers and we had a little chat with the participants.
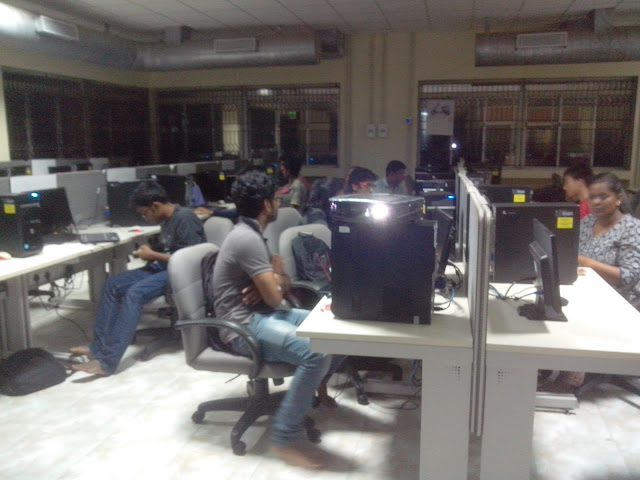 |
| Shri Ram taking session(Gray T_Shirt) |
Then after break we had some 3 hours remaining so we started the session again by playing a short caminandes.After that i continued to model the feathers of the owl and then eyes.It took around some 2 hours for the participants to finish the whole thing.That's it they made their first blender model we taught them how to set a simple basic shader. And finally we end up the modeling session.
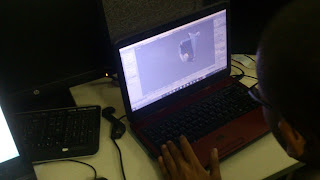
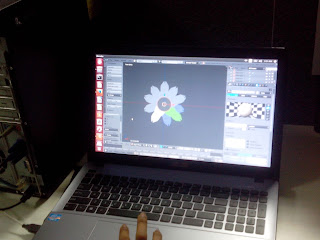
After the modeling session we gave the participants a simple competition and ask them to do a model anything up to their imagination in blender. The Prize amount for the winner is 5000 INR. After 1 hour we went to see the results and everyone made a great job we saw lot of talents in every person. Everyone had created some awesome model(at beginner level). We saw minecraft model, cam coder, flower, basketball ground, train and so on. And we split the prize into four pieces first prize went to the guy who did cam corder and the second went to minecraft model and the third goes to the train model and the flower model.
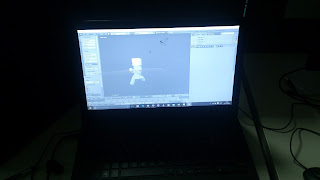 |
| Student_Work |
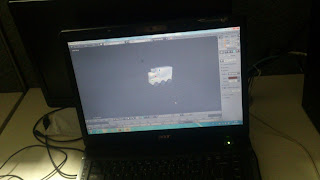 |
| Student_Works |
 |
| Student_Work |
|
 |
| Student_Work |
And finally the session came to an end we showed some useful materials to learn blender to the participants and took some photos and we packed to the home and it was morning 4.30 am :( and we happily returned home that we share some of our knowledge to other and we spread the word Blender :). I wanna thank vignesh ,aswin for helping me during the course of workshop . :)
and i wanna thank FSFTN for believing me and giving me a chance to share my knowledge with others.
Thank You,
Hope You Like it :)
Happy Blending :)


